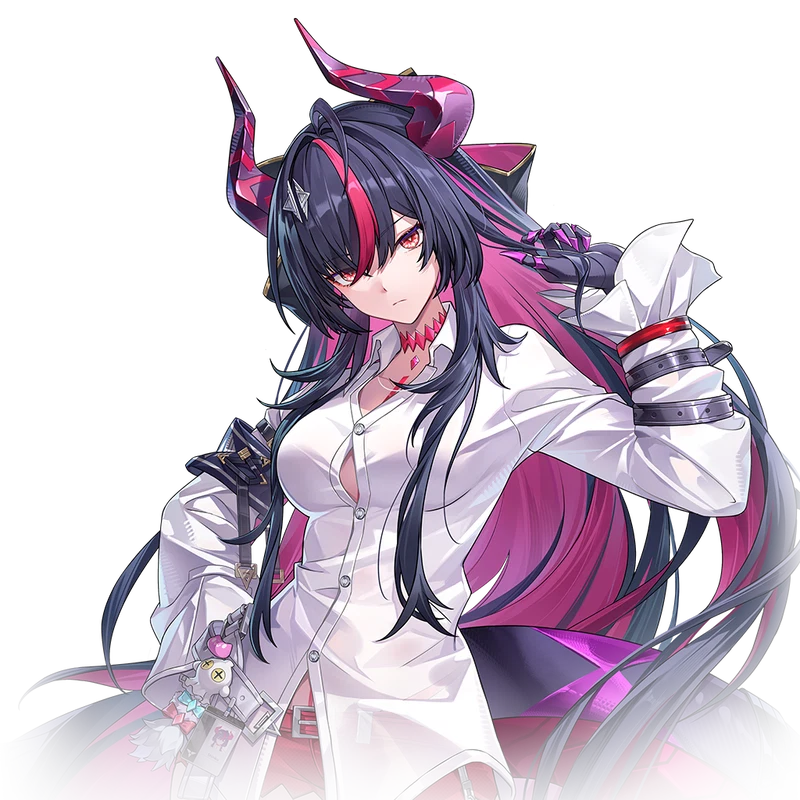



















Elyms
RevealedETD-6
Every NTE Esper in one place — browse the full roster by element and rarity, then study the Esper Cycle of elemental reactions. Switch tabs to explore each.
The Esper Cycle is the six-element ring that powers every elemental reaction in Neverness to Everness. Two Espers whose elements sit next to each other on the cycle can chain a duo reaction, unleashing a unique combat effect — extra damage, a damage-over-time burn, a slow, a delayed burst, an amp on follow-up hits, or a homing AoE. Stack the right pair of duos and the cycle escalates into one of two trio reactions with even bigger payoffs.
Use this page to plan team comps that can fire reactions on demand: every duo and trio is documented with its trigger, effect, and the Espers whose passives amplify it. Whether you're building a Blossom team around Anima and Cosmos units, a Scorch DoT team with Incantation + Chaos, or a Discord break team that grinds boss Break gauges, the answer is one row away.
Cosmos, Anima, Incantation, Chaos, Psyche and Lakshana sit at the six vertices of the Esper Cycle ring in this fixed order. Adjacent elements pair up into duo reactions; opposites do nothing. Memorising the ring order is the fastest way to read whether a team comp will fire reactions at all.
 Cosmos1 / 6
 Anima2 / 6
 Incantation3 / 6
 Chaos4 / 6
 Psyche5 / 6
 Lakshana6 / 6
A duo reaction fires when two Espers whose elements sit next to each other on the cycle take chained actions on the Esper Cycle Meter — typically by cycling a Skill or parry on one Esper, then swapping to the partner whose element is one step around the ring. Each duo has its own combat verb: some apply damage-over-time, some mark and detonate, some buff your team's follow-up hits, others slow the target. Pick the duo your team's win condition needs and build around the two elements that trigger it.
The target enters Remora for 5s after triggering Esper Cycle, slowing their movement and attack speed. The effect decays over time, and will have a shorter duration if repeatedly applied.
 Skia
SkiaRemora Enhancement: Inflicts an additional Remora on a target when Fang Thrust locks onto them in Remora state.
 Hathor
Remora Enhancement: Extends the target's Remora duration to 12s and increases Crit Rate by 10% when allies attacking a target affected by Remora.
 Chaos
ChaosRemora Enhancement: Deals Lakshana DMG equal to 800% of ATK to the target when Remora ends, based on Remora's duration. Each second beyond the base 5s duration increases total DMG by 45%, up to 300%. Resets Remora's duration when reapplied.
Generates 1 Vita Bud near the target after triggering Esper Cycle, which blossoms 5 Vita Pistils.
Vita Pistils then fly toward targets within range, exploding every 2s and dealing DMG to an area.
Up to 3 Vita Buds can exist on the field at once.
 Nanally
Blossom Enhancement: Fires 10 Vita Pistils with Vita Bud, reducing the interval between each shot to 1s.
 Mint
MintBlossom Enhancement: Expands Vita Pistils' damage area on hit.
 Hotori
Blossom Enhancement: Prevents Vita Bud attacks from pausing during Time Stop.
 Jiuyuan
Blossom Enhancement: Spawns 1 additional Vita Bud and increases Vita Bud limit on field to 6.
 Iroi
IroiBlossom Enhancement: Generates a Vita Bud Copy when the current Vita Bud has existed for 3s. This copy cannot duplicate and does not count toward the Vita Bud limit. The copy produces 20 Copied Vita Pistils. Every 0.5s, one Copied Vita Pistil flies toward a target within range and explodes, dealing 37.5% of the original Vita Pistil's DMG.
Deals an additional instance of follow-up attack DMG to the target equal to 20% of Anima or Incantation DMG taken within 12s after triggering Esper Cycle.
No released Esper currently carries a Hexed passive.
Inflicts Nova on the target for 5s after triggering Esper Cycle. When the effect ends, the target takes massive Mental Damage.
 Fadia
FadiaNova Enhancement: Allows all allies to drain Max HP from the target when Nova ends. The target loses Max HP equal to 200% of Fadia's base Max HP, and each ally gains Max HP equal to 10% of Fadia's base Max HP. Total drained cannot exceed 50% of Fadia's base Max HP. Restores both parties' stats upon exiting combat.
 Haniel
Nova Enhancement: Allows all allies to drain ATK from the target when Nova ends. The target loses ATK equal to 4% of Haniel's Base ATK, and each ally gains ATK equal to 8% of Haniel's Base ATK. The total drain is capped at 16% of Haniel's Base ATK, and the target cannot lose more than 20% of their initial ATK. Restores both parties' stats upon exiting combat.
 Aurelia
Nova Enhancement: Deals 3 instances of Psyche DMG to the target after their Nova status ends, each equal to 50% of ATK.
Upon triggering Esper Cycle, inflicts Scorch on the target for 15s, dealing DoT.
 Baicang
Scorch Enhancement: Inflicts another instance of Scorch with the same effect as the existing one when a Power Word is generated on a target affected by Scorch.
 Sagiri
Scorch Enhancement: Increases DoT taken by the target by 25% for each type of DoT effect while in Scorch state, up to 100%.
 Adler
AdlerScorch Enhancement: Applies one of three random debuffs whenever Scorch is inflicted on a target: -20% ATK, -10% Esper Resistance, or +10% Break Efficiency, lasting for 15s. The same effect cannot stack.
 Zankou
Increases the target's Psyche and Lakshana DMG taken by 20% for 12s after triggering Esper Cycle.
No released Esper currently carries a Stain passive.
Trios stack two duos onto the same target. They are the highest-payoff reactions in the system and reward teams that already chain the underlying duos consistently. Charge rewards Blossom-into-Remora teams with extra Ult Energy; Discord punishes targets caught under both Nova and Scorch by burning a chunk of their Break meter — the go-to setup for boss-break compositions.
Grants the active character 10 additional Ultimate Energy when Vita Pistils hit targets affected by Remora.
 Chiz
ChizCharge Enhancement: Grants active characters 4 additional Ultimate Energy.
 Edgar
EdgarCharge Enhancement: Grants 120 Ultimate Energy instantly when a character triggers Charge using a Support Skill. Disables Ultimate Energy gain from Vita Pistils when hitting Slowed targets afterward. Cooldown: 30s.
 Shinku
Charge Enhancement: Grants off-field characters the same amount of Charge when the active character gains Ultimate Energy. While Shinku is active and in Charge state, each trigger deals AoE DMG equal to 400% of ATK (scales with Basic Attack level, reaching 863.6% at level 11), and increases her ATK by 5% for 30s, up to 10 stacks. Cooldown: 1s.
Deducts a percentage of the target's Break when they are simultaneously affected by Nova and Scorch.
 Lacrimosa
Discord Enhancement: Deals additional DMG equal to 400% of ATK to the target when Discord is triggered, if the target is already Broken.
 Daffodill
Discord Enhancement: Further reduces the target's Break cap by 10% for 30s while affected by Discord and restores it to normal upon leaving combat. Stacks Discord Enhancement effects up to a maximum reduction of 20% of the target's initial Break cap.
Cycle Energy — what builds the cycle
Every Esper builds up Cycle Energy in combat. Dealing damage accumulates it, and a successful parry grants a burst on top. Once an Esper has enough, the next eligible Esper in your squad lights up and can be swapped in to trigger an Esper Cycle. In practice, parry-heavy and high-tempo playstyles cycle reactions more reliably.
Reaction enablers — who starts the loop
Some Esper skills grant a lot more Cycle Energy than others — their kit reads as an "enabler" that can charge up in very few actions, making those Espers the natural reaction starters of a team. When you compare units for a slot, how fast an Esper feeds the cycle can matter as much as raw damage: a lower-DPS unit that triggers reactions on a tight rhythm can out-perform a glass cannon that rarely fires one (a team-building observation — check each Esper's skill values in-game).
Esper Cycle Passive — why squad order matters
Every Esper has a unique passive that amplifies one specific reaction. These passives are built around team-wide synergy, so squad order matters even when a unit isn't the one on screen — many reaction effects appear to keep contributing while the Esper sits in the reserves (the way off-field gear effects such as Crimson: Twin Butterflies explicitly stay active off-field), though each passive's exact trigger is defined per character, so read the passive text. This is the cornerstone of team composition in Neverness to Everness: the goal isn't always to keep your hardest hitter on screen, it's to stack four Espers whose passives all feed the same reaction chain. A team built around three Scorch passives can out-damage a balanced team that triggers Scorch only occasionally.
Building a reaction-first team
Step 1: pick the duo or trio reaction you want to centre the team around (Blossom for AoE waveclear, Scorch for sustained boss DPS, Discord for break checks). Step 2: lock in the two adjacent elements that trigger it. Step 3: fill the remaining two slots with Espers whose Esper Cycle Passive amplifies the same reaction. Step 4: choose at least one fast-cycling Esper to act as the team's reaction starter. The reaction matrix above tells you which Espers fit each role.


 DPS
DPS Main DPS


 Survival
 Shield





 Burst
Burst
 Heal
Heal
 Damage Share
 Buff
Buff Damage Boost








 Control

 Quick Combine