







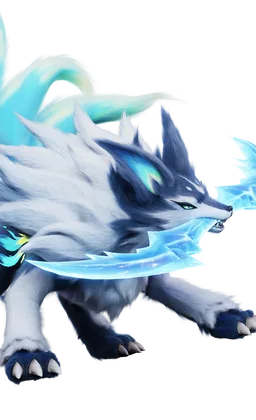
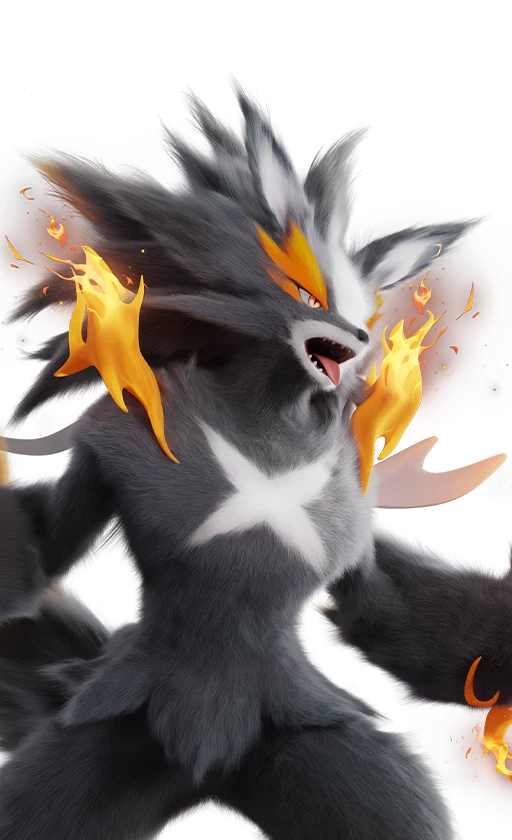
Combat Guide
Real-time action RPG — mastering elements and roles is essential to progress efficiently.
Key takeaways
- It's the attack usedthat determines elemental advantage — not just the Aniimo's type.
- Yellow numbers = elemental advantage. White numbers = neutral or disadvantage (2× damage taken).
- Invest first in your DPS, then your Break.
- The Team Ultimate requires 3 full R gauges + pressing Y at the right timing.
Elemental System — Fundamental Rule
The 9 elements
Fire, Ice, Lightning, Water, Grass, Earth, Wind, Dark and Light. Each Aniimo carries one or two of them.
Aniimo matchups don't mirror other creature games, so check in-game rather than assume. Example — Ice deals extra damage to Ice and Lightning, takes extra damage from Water and Grass, and resists Earth, Fire and Lightning.
Spatial Counters — Physical Behaviors
Beyond elements, Aniimo have spatial behaviors that create additional weaknesses.


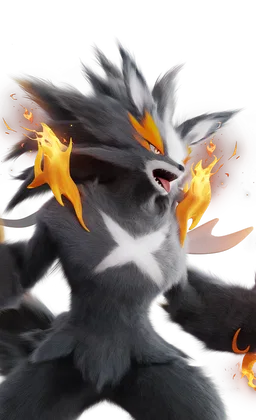
Counter:  Emberpup →
  Scorchhowl has Fire Kick (slash + ground attack + electric kick). Forces burrowing Aniimo to surface.
The 5 Roles — Investment Priorities
Key takeaway
Invest first in your DPS, then Break. Heal comes next for difficult content. Support and Regen are secondary in the early game.Orbs & Team Ultimate
Blue Orbs — Q and E Skills
Above the health bar, blue orbs fill up during combat. When all orbs are full, you can spam the Q and E keys freely. These orbs are shared across all your Aniimo in the team.
Ultimate R Gauge — Individual Ultimate Skill
Each Nova Aniimo (final form) has an ultimate skill via R. Three separate bars at the bottom right of the screen, one per active Aniimo. The R gauge is independent from the blue orbs — both run in parallel.
Team Ultimate Y — Combined Attack
When all 3 R bars are full, a Y icon floats above the team. Press Y and select each Aniimo in a timed order — precise timing required.
Trainer Mode (Pathfinder view)
Instead of merging (Twining) with your Aniimo, stay in Pathfinder view to issue commands. No access to Q/E, but you use your own R ultimate and the Mega Mallet (weakens an Aniimo to make capture easier).


