
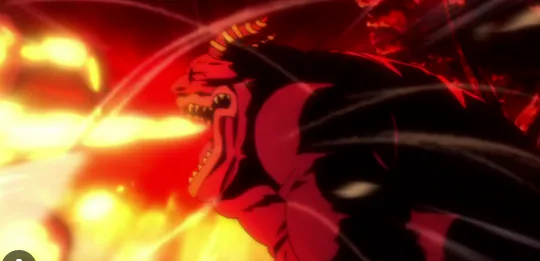

Combat
Stats & Weaknesses

Boss
Red DemonStats HP593,698
 ATK9,592
 DEF3,441
 Accuracy1550Block1098
 Critical Rate10.55%
 Crit Resist10%
 Critical Damage37.66%Crit Damage Resist8.69%Block Damage Resist95%Protection Resist10%
HP593,698ATK9,592DEF3,441Accuracy1550Block1098Critical Rate10.55%Crit Resist10%Critical Damage37.66%Crit Damage Resist8.69%Block Damage Resist95%Protection Resist10%Burst Gauge7441
Move Speed500
Weaknesses Earth20%
 Holy20%
Earth20%Holy20%Resistances Fire30%
 All Elements10%
Fire30%All Elements10%World
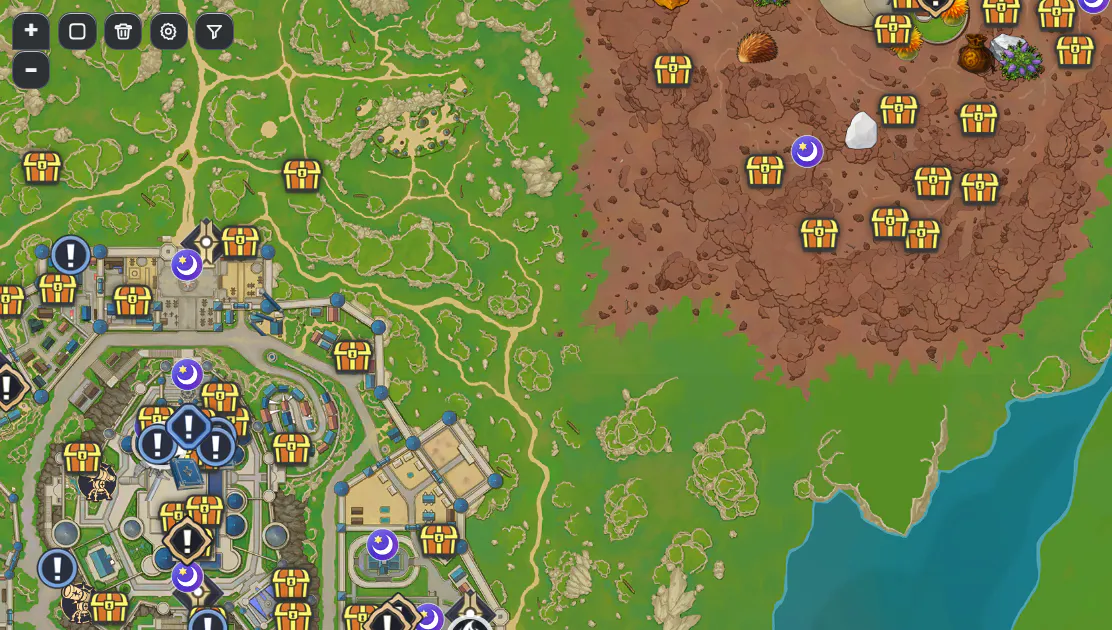
Location
Combat
How the fight works
Gluttonous FireIn-game tip
The Red Demon's attack increases when it takes Fire damage, so take caution. However, if it doesn't take Fire damage for a set duration, its defense decreases.
- Bring Earth carries and bench your Fire DPS here, because every Fire hit it eats only feeds its attack stat.
- If you have nothing but Fire damage, just hold off attacking for a stretch on purpose, its defense drops and you get a free burst window.
Cold EarthIn-game tip
The Red Demon becomes vulnerable to Petrify when stunned by a counter skill. If petrified, it becomes stunned for an extended duration.
- Save a counter skill for its telegraphed swings, the stun opens it to Petrify and that lock lasts much longer than a normal stagger.
- Stack a Petrify applier with Earth damage so the moment it's countered you chain the petrify and dump your whole rotation safely.
Moveset — the real numbers
Its AI decides when it uses what, so there is no fixed rotation to memorize — but every damage %, reach, duration and crowd control below is exact.
| Attack | Damage (% of ATK) | Reach | Duration | Control |
|---|---|---|---|---|
| Fire eruptionIts hardest single hit, a point-blank fire burst that launches you. Bait it then sidestep before the circle fills. | — | 5.5m | 7.47s | AirBorne |
| Tight blastA small but very heavy fire pop with a knock-up. The ring is narrow, so a short dash fully clears it. | — | 3m | 5.47s | AirBorne |
| Sweeping infernosFour cones that grow outward each hit, reaching far down the lane. Move to the boss's side instead of running back. | — | 16.5m | 5.09s | AirBorne |
| Expanding ringsThree shockwaves spreading from the center, each knocks up. Stay just inside one ring then step into the calm gap. | — | 12.5m | 5.93s | AirBorne |
| Arena novaA massive 16m blast that covers most of the floor. Pre-position at the very edge before it goes off. | — | 16m | 8s | — |
| Flame beamA long five-hit fire stream straight ahead. Strafe out of the line early; the later hits hurt most. | — | 10m | 4.6s | — |
| Combo finisherThe launching cap on its two quick cone swipes. Once you see the first two pokes, expect this and roll. | — | 4m | 3.6s | AirBorne |
| Lingering flareA wider knock-up burst seen in the event version. Treat it like the eruption but give yourself more room. | — | 5.5m | 7.47s | AirBorne |
| Wide cleaveA 6m frontal swing it throws between casts. Stay off the front arc and punish from the flank. | — | 6m | 4s | — |
| Line pokeA quick straight fire jab in melee range. Cheap to dodge with a small side step, good window to reset spacing. | — | 9m | 4.47s | — |
The phase descriptions are the official in-game boss tips; the tactical bullet points are our advice. Every damage value, reach, duration and crowd-control effect in the moveset is the boss's real in-game value. Attack names are descriptive labels.
Loot
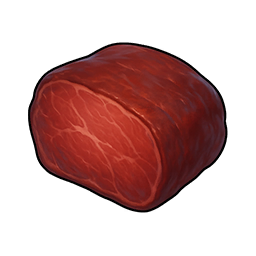
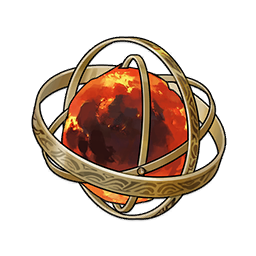
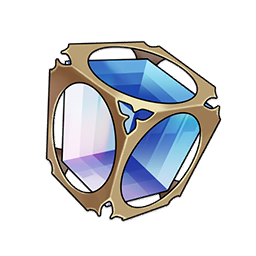
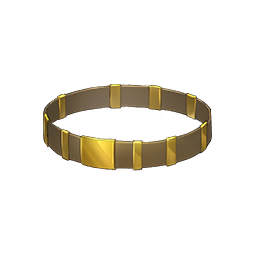
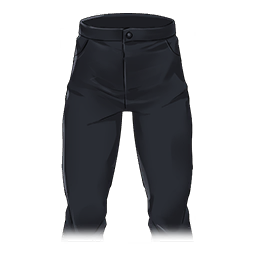
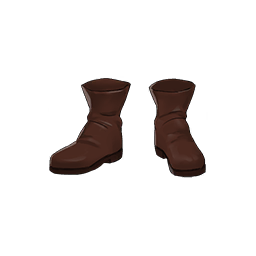
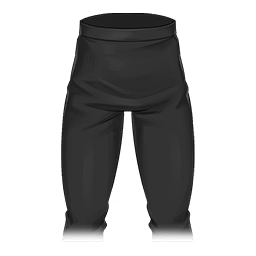
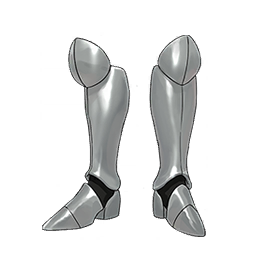
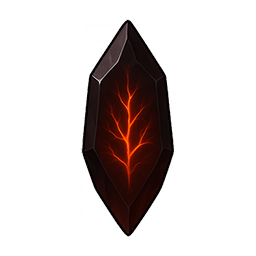
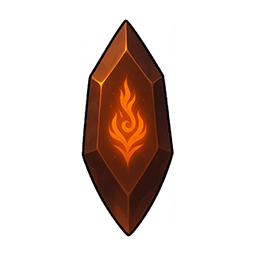
Drops & Rewards










Community
Teams

Community
Speedrun
Media
Videos
Cleared it your own way?Drop your run's YouTube link — it embeds straight onto the community wall.
Note
Log in to join the discussion.
Community
0Loading comments...
Community
Comments
Community
0Loading comments...
Note
Log in to join the discussion.