

Warning
RemovedDeep Spider Nest was removed from the dungeon menu in Version 1.5 (June 4, 2026), together with Ferzen Mines. Netmarble plans to reopen both dungeons in a new form after a revamp.
Combat
Stats & Weaknesses
Unable to get the correct stats for now
World
Location
Zone
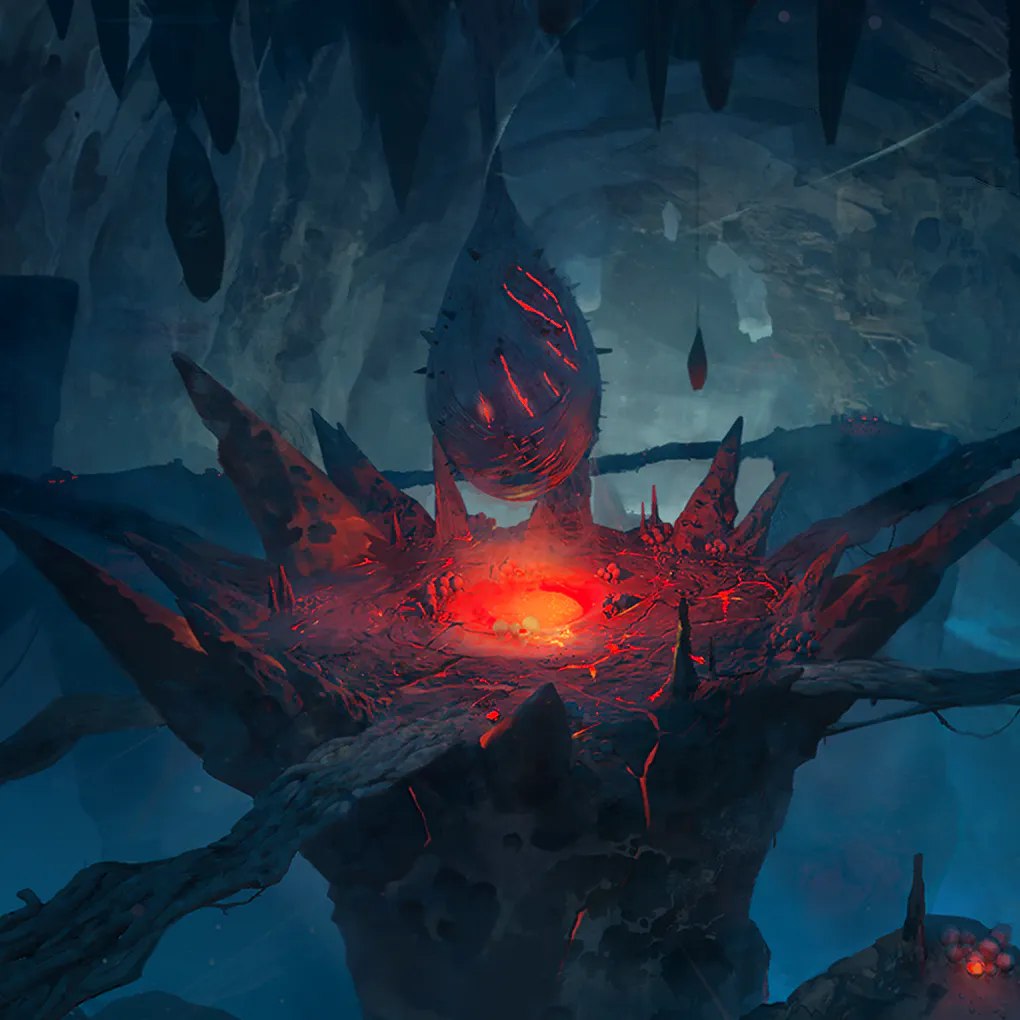
Deep Spider Nest
Combat
How the fight works
Queen's ArmyIn-game tip
Giant spider cocoons exist around Shakeera. The more giant spider cocoons there are, the more Ultimate Move and Combined Attack damage Shakeera takes is reduced. This effect applies starting from the Abyss difficulty.
- Don't blindly farm the babies. Every one you kill ramps her Attack while dropping her Defense, and that can snowball to 30 stacks of bonus damage.
- Decide your plan up front: either burst her down fast while her Defense is still high, or thin the adds in controlled bursts so her Attack ramp stays manageable.
Solid ExoskeletonIn-game tip
Shakeera periodically gains a barrier. Destroying the barrier stuns Shakeera. If the barrier isn't destroyed, Shakeera will charge. Burn and Shock make the barrier significantly easier to break.
- Keep Burn ticking on Shakeera before each summon. Any baby spider spawned while she's burning comes in with zero Defense, so a Fire/Burn DPS makes the adds trivial to clear.
- Time your add-clear AoE for right after a wave spawns under Burn; that's your cheapest window to rack up the Defense-down stacks from Phase 1.
Spiderweb FuseIn-game tip
Shakeera will fall and become stunned if the spider cocoons on the ground are destroyed while Shakeera is hanging from the ceiling.
- When she retreats and hangs from the ceiling, stop hitting her and smash the cocoons on the ground instead. Breaking them drops her and stuns her.
- Save your biggest burst and any extra crowd control for that knockdown; the stun window is your main opening for real damage.
Venom SpiderIn-game tip
Shakeera spits to create a venom zone that inflicts Poison. Shakeera's attacks against Poisoned enemies deal increased damage.
Moveset — the real numbers
Its AI decides when it uses what, so there is no fixed rotation to memorize — but every damage %, reach, duration and crowd control below is exact.
| Attack | Damage (% of ATK) | Reach | Duration | Control |
|---|---|---|---|---|
| Sweeping lungeWide forward cone, so don't stack your team directly in front of her. | — | 9m | 2.56s | — |
| Heavy stompHer hardest basic; a short tight hit right under her, easy to sidestep. | — | 3m | 2.54s | — |
| Tremor stunBig arena-wide pulse that stuns; pop a cleanse or stun immunity before it lands. | — | — | 9.98s | — |
| Skitter flurryRapid multi-hit burst with knock-up; this chunks hard if you eat the full string. | — | 3m | 4.41s | AirBorne |
| Slam waveSingle heavy ring with knock-up; roll out the moment she winds up. | — | 10m | 3.76s | AirBorne |
| Nest collapseHer big nuke covering nearly the whole floor with a stagger; this is the one you must dodge. | — | 80m | 4.5s | Stagger |
| Fang jabsFour quick stabs in a tiny zone; punishing if you're glued to her, harmless from range. | — | 1m | 2.36s | — |
| Frenzied flurrySecond multi-hit knock-up string; same threat as her flurry, just a different windup. | — | 3m | 3.83s | AirBorne |
The phase descriptions are the official in-game boss tips; the tactical bullet points are our advice. Every damage value, reach, duration and crowd-control effect in the moveset is the boss's real in-game value. Attack names are descriptive labels.
Loot
Drops & Rewards




Community
Teams

Community
Speedrun
Media
Videos
Cleared it your own way?Drop your run's YouTube link — it embeds straight onto the community wall.
Note
Log in to join the discussion.
Community
0Loading comments...
Community
Comments
Community
0Loading comments...
Note
Log in to join the discussion.