
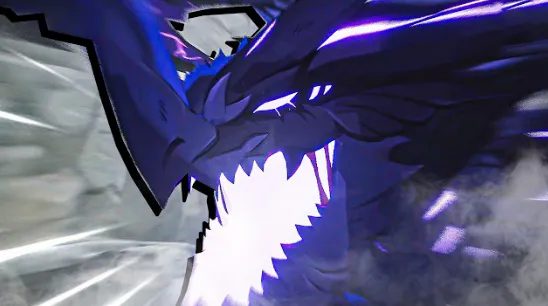

Combat
Stats & Weaknesses

Boss
Corrupted Ancient DragonDifficulty
Abyss

Min. BP82,015
Players
P
Stats HP3,271,421
 ATK18,422
 DEF12,084
 Accuracy2557
 Critical Rate22.20%
 Crit Resist15%
 Critical Damage64.80%Crit Damage Resist32.40%Block Damage Resist95%Protection Resist15%
HP3,271,421ATK18,422DEF12,084Accuracy2557Critical Rate22.20%Crit Resist15%Critical Damage64.80%Crit Damage Resist32.40%Block Damage Resist95%Protection Resist15%Burst Gauge5499
Move Speed500
Weaknesses Dark20%
 Holy20%
Dark20%Holy20%Resistances All Elements15%
All Elements15%World
Location
Zone
Solgres
Combat
How the fight works
Scale Hardened With MagicIn-game tip
All element damage greatly decreases. The applied Damage Reduction decreases each time a Burst activates. Applies only once per elemental burst. This effect resets when the phase shifts.
- Hold your Elemental Bursts: each Burst you pop in this phase shaves off the boss's damage reduction, so stagger your bursts to grind it down rather than dumping them all at once.
- Lead with Holy DPS to exploit its weakness faster, then unload bursts once the reduction has dropped a few stacks.
Skin Enveloped in MagicIn-game tip
All Elemental Burst Resistance increases. All Elemental Resistances decrease when inflicted with a debuff. Applies up to 5 times per one element. This effect resets when the phase shifts.
- Stack debuffs fast: every debuff drops its Elemental Resistances (up to 5 per element), so prioritize Holy units and debuff-heavy kits to soften it before you commit real damage.
- Save your big Holy bursts for after you've layered debuffs, since burst resistance is up early and falls off as you pile on the stacks.
OverloadIn-game tip
Completely filling the Daze Gauge while it's preparing for a powerful attack will inflict stun.
- When it telegraphs the long arena-wide cast, pour everything into the Daze Gauge: filling it before the hit lands stuns the dragon and skips the nuke entirely.
- Bring a daze-heavy comp and bank gauge pressure for this window, then chain your highest Holy burst into the open stun.
Moveset — the real numbers
Its AI decides when it uses what, so there is no fixed rotation to memorize — but every damage %, reach, duration and crowd control below is exact.
| Attack | Damage (% of ATK) | Reach | Duration | Control |
|---|---|---|---|---|
| Arena nukeThe big one with a long wind-up that fills almost the whole arena. This is the cast you want to dump the Daze Gauge into during Overload. | — | 100m | 27.78s | — |
| Piercing breathA long straight beam that staggers. Stand off to the side, never directly in front of the head. | — | 60m | 5.58s | Stagger |
| Triple beam lineComes in a set of three back-to-back straight lines. Sidestep, don't try to outrun it. | — | 40m | 7.83s | — |
| Phase-shift slamTwo-hit knock-up that fires on the phase change. Bait it, then re-engage once you land. | — | 10m | 10.67s | AirBorne |
| Rapid stomp flurryLong burst of fast tight hits in melee range. Roll out early or it chunks you down. | — | 5m | 9s | — |
| Sustained quakeDrawn-out tick pulses on the same spot. Reposition once and stay out of the circle. | — | 5m | 16s | — |
| Nested ringsThree shrinking rings that hit harder the closer they get. Run toward the boss to slip the inner ring. | — | 30m | 14.01s | AirBorne |
| Frontal cone sprayA wide multi-hit cone in front. Get behind or to the flank to dodge the whole fan. | — | 22m | 9.73s | — |
| Aerial barrageAirborne rain of many small hits in tight circles. Keep moving while it's overhead. | — | 5m | 9.6s | — |
| Landing slamThe knock-up it drops when it comes back down. Watch the marker and clear the impact spot. | — | 8m | 11.12s | AirBorne |
| Lunge biteA fast forward line poke with knock-up. Cheap punish window right after it whiffs. | — | 13m | 4.83s | AirBorne |
The phase descriptions are the official in-game boss tips; the tactical bullet points are our advice. Every damage value, reach, duration and crowd-control effect in the moveset is the boss's real in-game value. Attack names are descriptive labels.
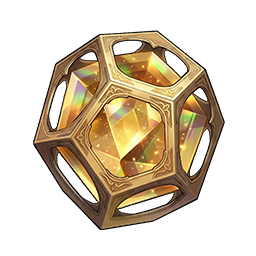
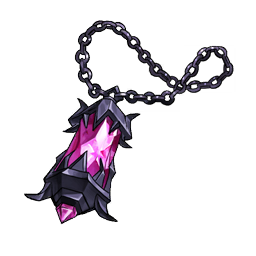
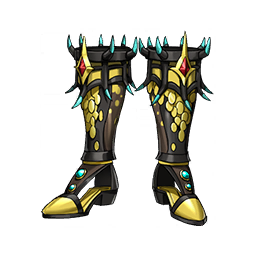
Loot
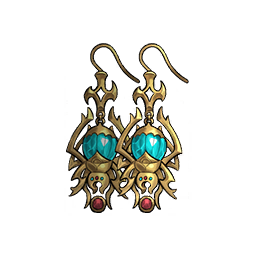
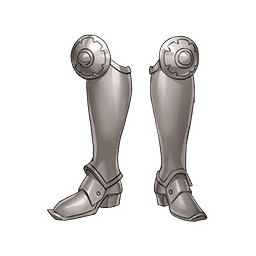
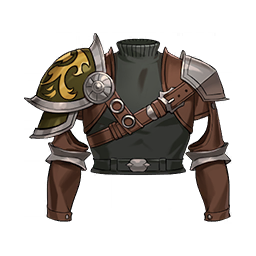
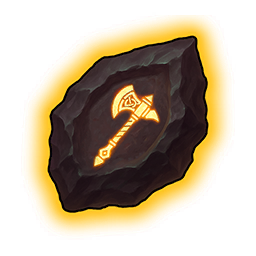
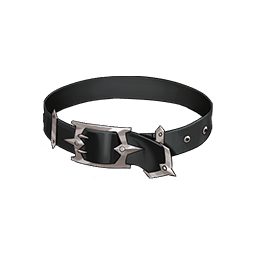
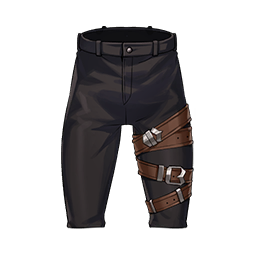
Drops & Rewards









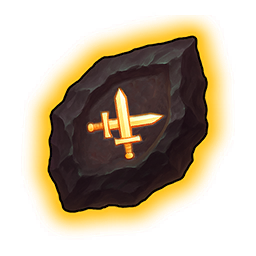






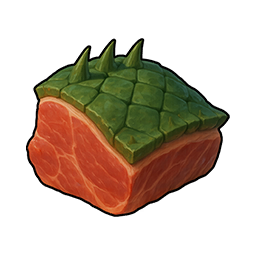






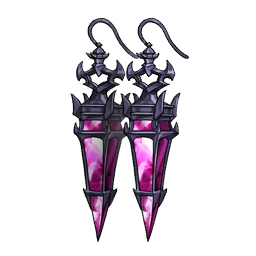
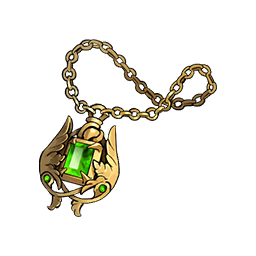


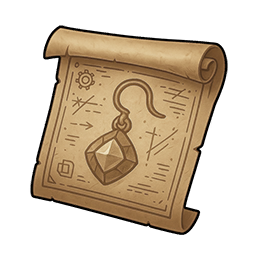
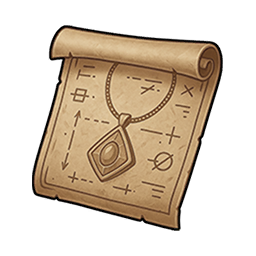
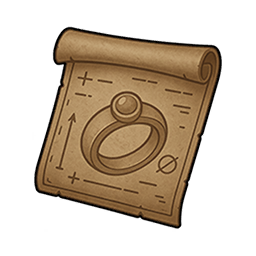
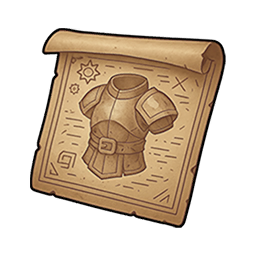




Community
Teams

Community
Speedrun
Media
Videos
Cleared it your own way?Drop your run's YouTube link — it embeds straight onto the community wall.
Note
Log in to join the discussion.
Community
0Loading comments...
Community
Comments
Community
0Loading comments...
Note
Log in to join the discussion.