

Combat
Stats & Weaknesses

Boss
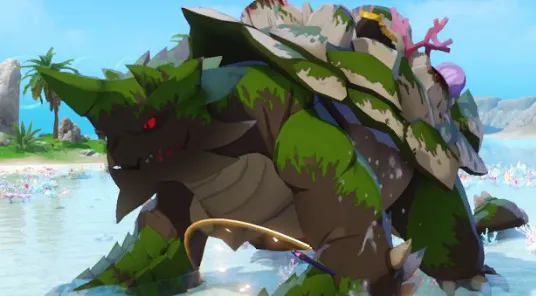
BanakroStats HP329,980
 ATK7,127
 DEF3,766
 Accuracy1520Block856
 Critical Rate8.96%
 Crit Resist10%
 Critical Damage33.66%Crit Damage Resist6.50%Block Damage Resist95%Protection Resist10%
HP329,980ATK7,127DEF3,766Accuracy1520Block856Critical Rate8.96%Crit Resist10%Critical Damage33.66%Crit Damage Resist6.50%Block Damage Resist95%Protection Resist10%Burst Gauge9167
Move Speed500
Weaknesses Thunder20%
Thunder20%Resistances Earth20%
 All Elements10%
Earth20%All Elements10%World
Location
Combat
How the fight works
Wet ShellIn-game tip
Vulnerable to Lightning Burst, but resistance against other element bursts.
- Banakro takes extra damage from Lightning (Electric), so bring a Lightning burst unit. That's the fastest way to blow up his bar.
- Don't waste off-element burst windows here; hold them and pace your damage until the Lightning break lands.
Giant TargetIn-game tip
The damage taken by Ultimate Moves and Combined Attacks increases.
- This is your burst window: feed your Ultimate Moves and Combined Attacks now, since he eats extra damage from both. Line them up so your whole team unloads ults back-to-back while the multiplier is live.
Upside-down TurtleIn-game tip
Stunned when Daze Gauge is completely filled.
- His attacks all carry knock-ups, so stack Daze-building hits to fill the gauge and stun him. Once he flips over, dogpile everything — that downtime is free, knock-up-safe damage, so save your big cooldowns for it.
Moveset — the real numbers
Its AI decides when it uses what, so there is no fixed rotation to memorize — but every damage %, reach, duration and crowd control below is exact.
| Attack | Damage (% of ATK) | Reach | Duration | Control |
|---|---|---|---|---|
| Frost lance volleyHis signature nuke — a string of brutal line hits that knocks up. Eat the wind-up animation and side-step out of the lane fast. | — | 3m | 7.9s | AirBorne |
| Icicle barrageA long, sustained stream of small line hits down a narrow lane. Just strafe off the line and keep DPSing from the side. | — | 1m | 10.9s | — |
| Heavy shard lineFewer but harder hits in a thin lane, each one knocks up. Don't stand directly in front of him while it channels. | — | 1m | 11.2s | AirBorne |
| Long-range sprayA six-tick poke that reaches across the arena (60m), so range won't save you here. Stay out of the firing line, not just out of melee. | — | 60m | 4.97s | — |
| Ground poundWide point-blank circle with a knock-up — his go-to when you're hugging him. Roll out the moment he winds up. | — | 12m | 3.97s | AirBorne |
| Frosty cleaveA two-hit frontal cone. Cheap to dodge by slipping behind or to his flank. | — | 12m | 4.67s | — |
| Tail swipeBasic straight line poke that knocks up. Reposition off the lane and it whiffs. | — | 8m | 4.67s | AirBorne |
| Leap slamA gap-closer hop that lands as a circle knock-up. Watch his crouch and dodge once he commits. | — | 8m | 3.2s | AirBorne |
| Diving rakeA fast leap into a six-hit line, very little tell. Don't stand under him after he jumps. | — | 1m | 2.7s | — |
| Expanding shockwaveLands in three growing rings (6m, then 9m, then 12m), so rolling once isn't enough — keep moving outward until all three pop. | — | 12m | 3.2s | — |
The phase descriptions are the official in-game boss tips; the tactical bullet points are our advice. Every damage value, reach, duration and crowd-control effect in the moveset is the boss's real in-game value. Attack names are descriptive labels.
Loot
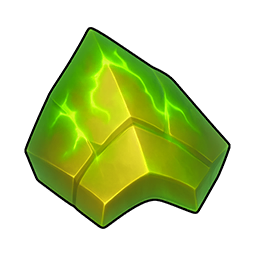
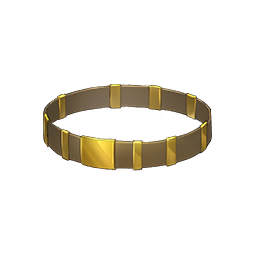
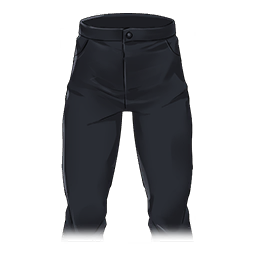
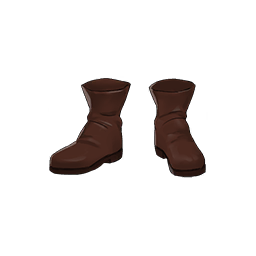
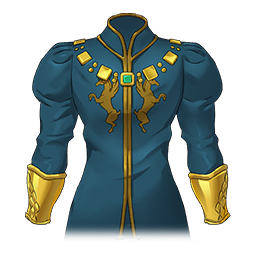
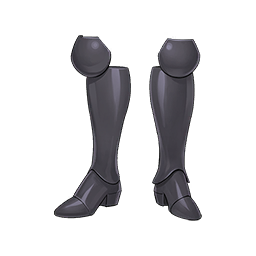
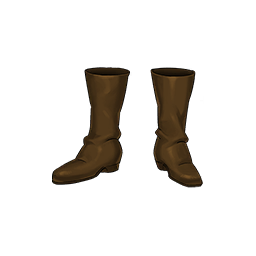
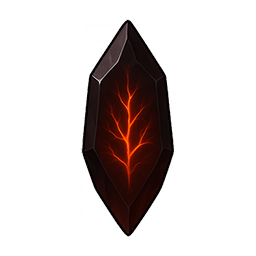
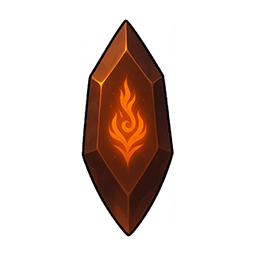
Drops & Rewards












Community
Teams

Community
Speedrun
Media
Videos
Cleared it your own way?Drop your run's YouTube link — it embeds straight onto the community wall.
Note
Log in to join the discussion.
Community
0Loading comments...
Community
Comments
Community
0Loading comments...
Note
Log in to join the discussion.